HDR multi-shot technique
Project description
This project was imagined as a marketing photo for a company selling flower bulbs in the winter. The goal for the image was to persuade viewers to purchase something that reminded them of the summer afternoon implied in the ad. The flower was to be shot inside with a transparent patterned curtain in the background. Past the curtain you should be able to see a setting sun. Putting all these elements together was not difficult, but getting proper exposures for the flower, curtain and tabletop required assembling an HDR image.
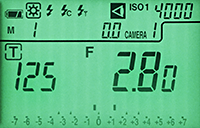
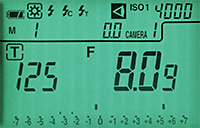
Flower reads EV 10...........Curtain reads EV 13
3EV difference
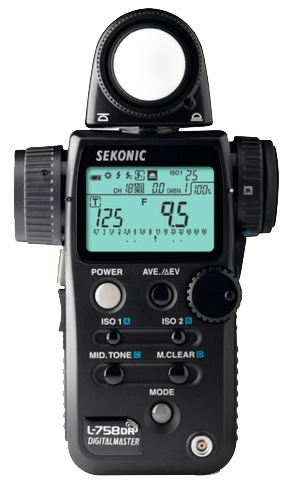
Creating good HDR images usually does not require a lot of files. All you need to do is cover EV settings outside the nominal dynamic range of the camera. Start by measuring each portion of the scene that must be represented in the final image. That information will give you the EV spread needed in the source images. In this case we see the flower reads EV 10 and the curtain reads EV 13. We can assemble the final image from just two properly exposed frames 3EV apart. Exposures for this project were determined with a Sekonic 758dr 1° degree spotmeter.
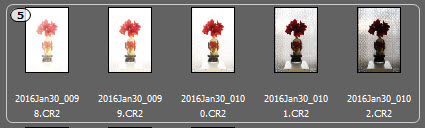
The camera was set to shoot five ΔEV values of +1+2 0 -2-3 as shown in the image stack above.
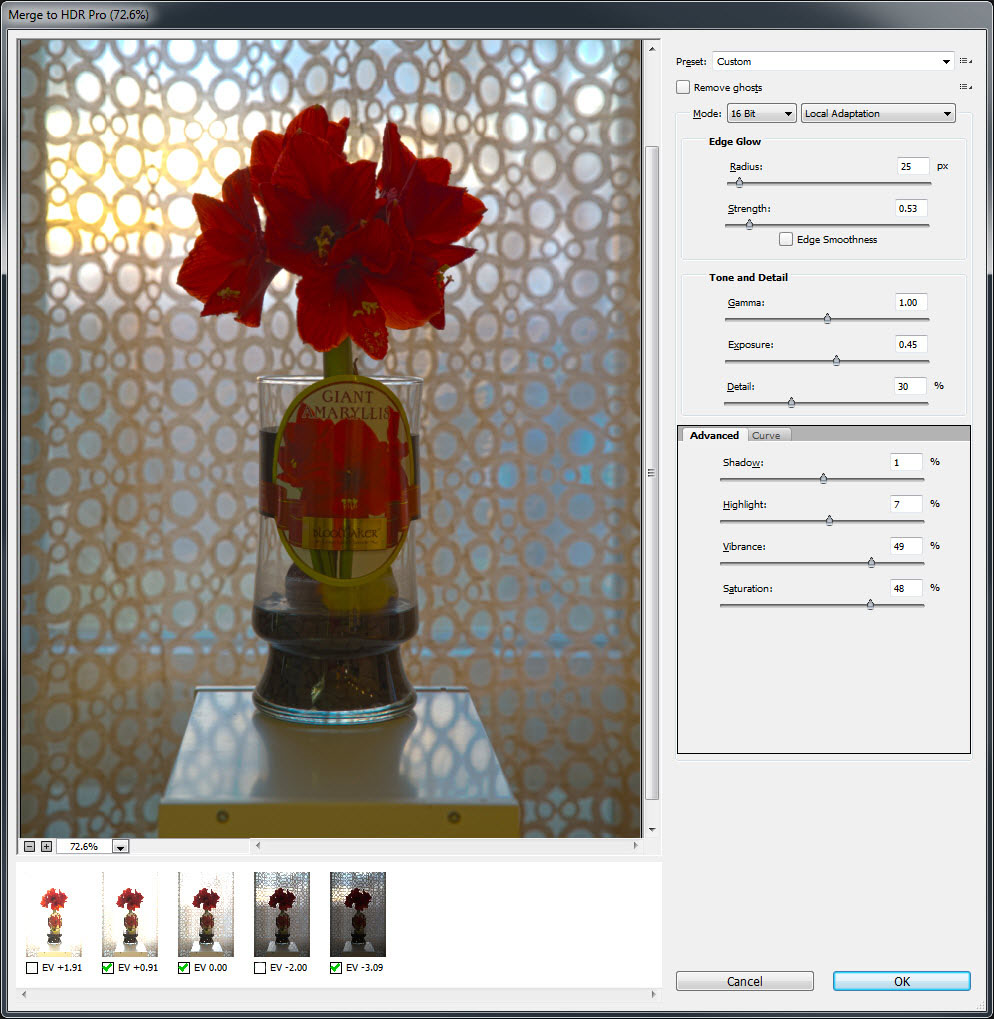
Because the meter placed the curtains +3EV above the flower, the camera images were bracketed +2EV and -3EV from nominal exposure. The +3 scene component (curtains) were exposed at -3EV to yield a nominal exposure for the curtains. Zero and +1 were used for the flowers. The screen shot above is from Photoshop's Merge to HDR Pro window and it shows all five images and their corresponding EV. Two frames were needed for the image, but one extra bright frame was taken to exaggerate the highlights a bit. Three total frames were selected for the HDR merge.
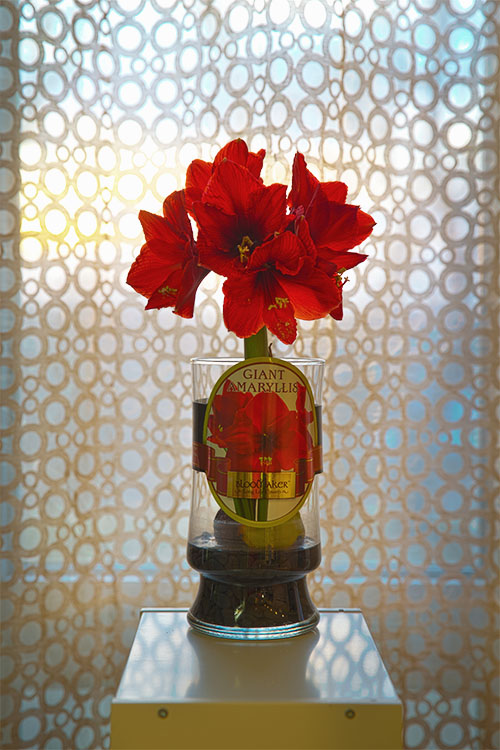
Final HDR with flower details, shadows on table top, yellow sun through curtain and blue sky background.
UMKC HDR files
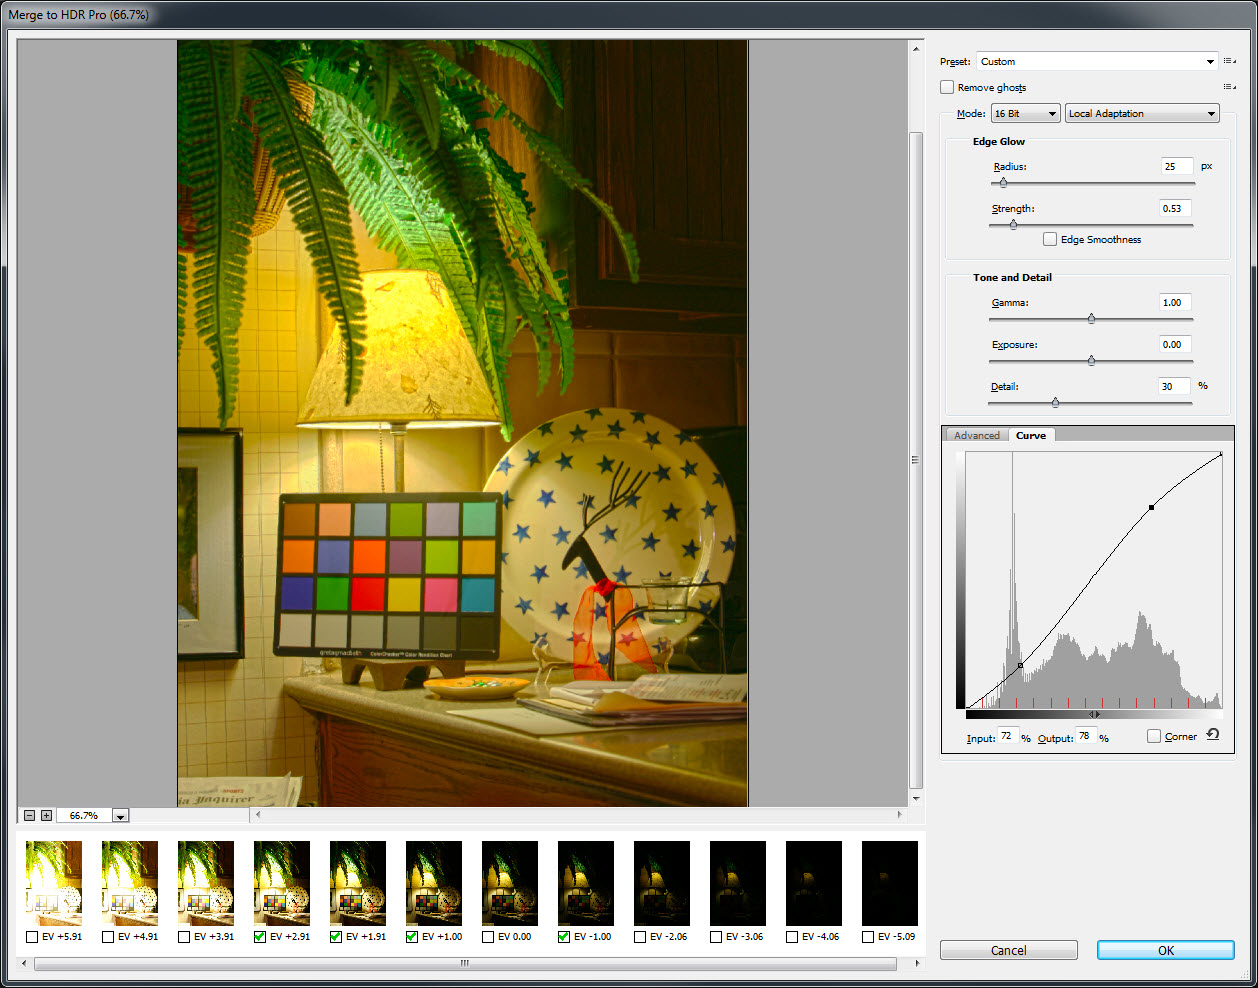
Way too many images are included in the UMKC stack. The HDR can be constructed from just three images, but a fourth was added to help control some odd colors on the wall. The transfer curve had to be tweaked to deliver a better contrast range.
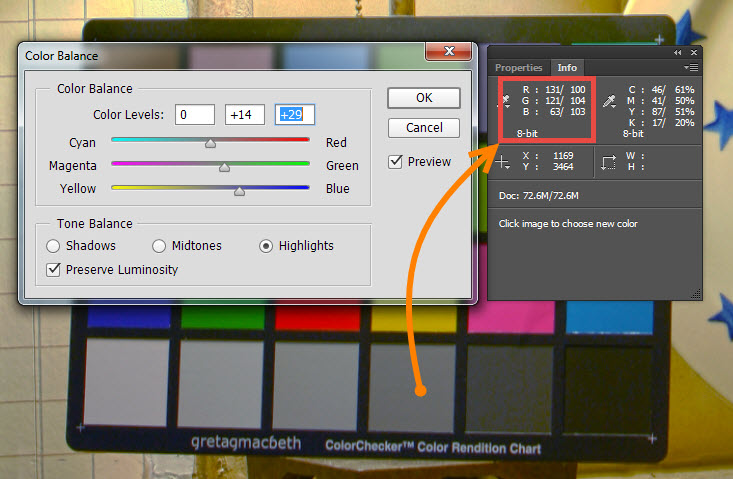
The scene and color checker are illuminated by two sources operating at different color temperatures. After tweaking the tone balance in all three bands, the mid-level gray was pretty close and the image looked a lot better.
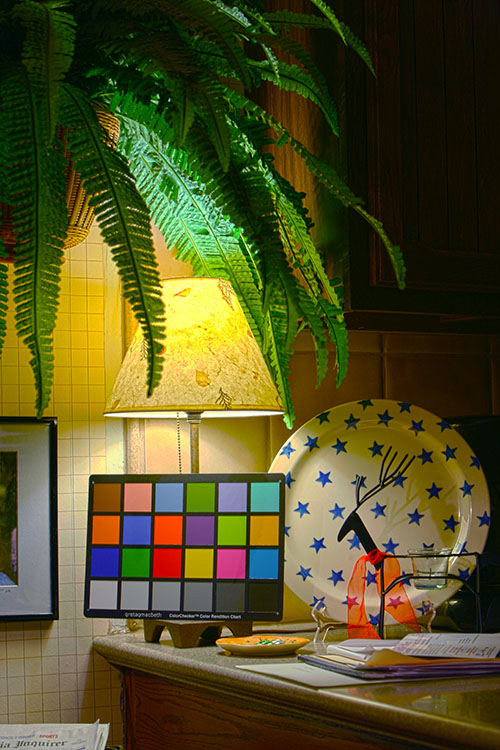
Final HDR image from UMKC files